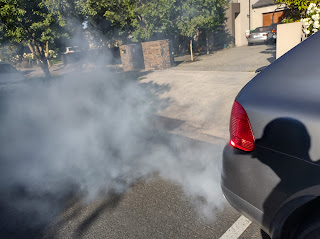
The most likely suspect was a bad starter/alternator cable. After some years, corrosion would set in. not a problem when the cable was cold after the car was started, but after the temperature increases, the corroded cables' resistance would increase, meaning less charge to the battery.
So here's how I tackled it. Usual disclaimers apply - I'm not a mechanic, all photos and descriptions provided are for amusement value only, any damage to your car or yourself is your own damn fault.
Parts required;

- New starter-alternator Y cable. About AUD$180 delivered from USA, as no local sellers had it.
- New drive belt. About AUD$40 on eBay. Cheap to replace as general maintenance.
- New alternator regulator - about $100 on eBay. Possibly not required, but seeing as I would have to get the alternator out anyway, a useful part to replace

So, let's get started. Note my 911 came with a silicon intake tube/resonator delete. Remove the airbox by loosening the clamp around the throttle body, and the single bolt near the boot latch. Unplug and set aside the MAF connector

Remove airbox from car and set aside

This exposes the drive belt.

To release the drive belt, ideally get a socket on this tensioner pulley and rotate (think it was anticlockwise) to loosen tension. Don't use a wrench as in this photo, get the correct fitting socket to avoid slippage and damaging anything - I think it was a 21mm.

Drive belt will easily come off all pulleys. You probably should take a picture of the original routing before removing it.

Removing the alternator can be a bit of a pain. This bolt I'm pointing at is easy to loosen. Then to the right of the alternator is a pulley on a bolt. Loosen the bolt on this pulley, but don't fully remove it. Look carefully at the other end of the bolt, where it's set into a bearing. Smack the bolt with a hammer to dislodge the bearing, otherwise you'll never get the alternator out.

Now I ran into a problem - a tiny coolant line just in front of the alternator sprung a leak.

This stupid little thing. I do wonder why "German engineering" is so terrible that all their coolant plastics deteriorate (yeah I'm looking at you, VW, Audi, Porsche, BMW, Mercedes), whereas my Japanese cars are build much with much much better reliability and longevity?

This stupid thing.

Aaaaand there it goes. Off to the local auto shop to grab some brass barbs to replace crappy German engineering.

Anyway, once the main bolt holding that pulley on comes loose, rotate the alternator out.

You did remember to disconnect the battery, right? There's a small harness that just unclips, then the main power cable you need to unbolt.

Now clearly someone's already had a go at fixing the problem - that red heatshrink is not OEM.

You can see the power cables to the starter motor (both wrapped in red heatshrink). Unbolt and remove from the starter.

You'll need a long extension or two to get to the boilt on the starter. You may also consider replacing the starter.

Back to the alternator. Let's replace the alternator regulator now. The screws and bolts to remove the cover are obvious to see. Don't strip any.

Cover removed.
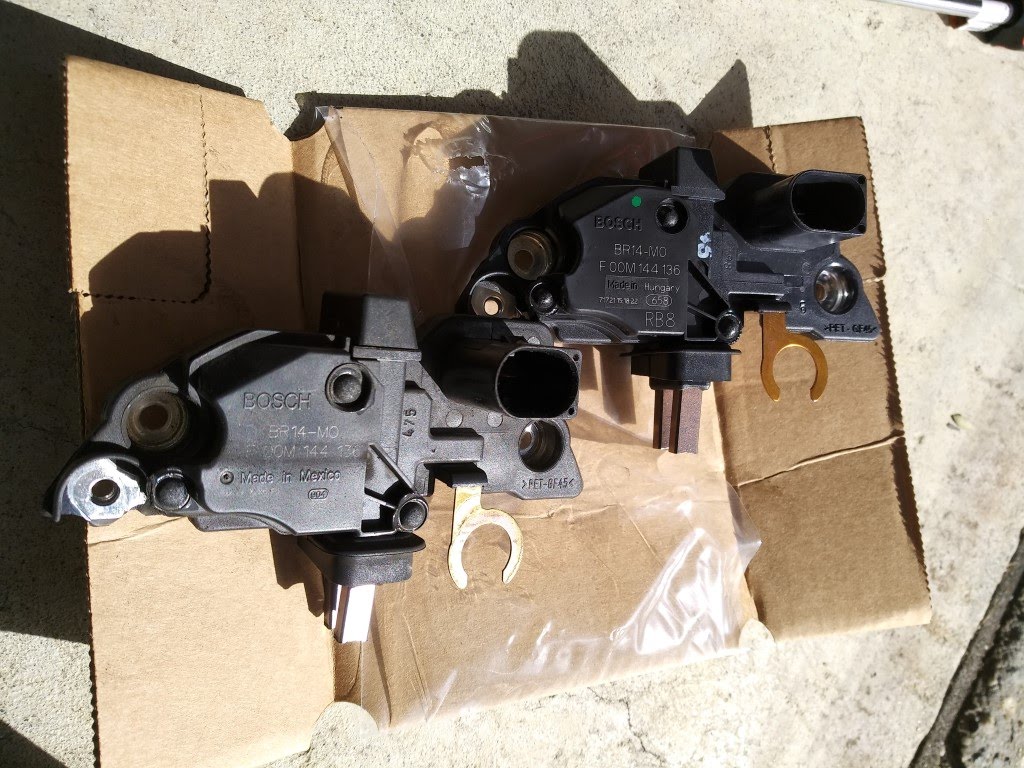
Old vs new alternator regulator. Install new regulator and replace the cover.

This car won't run very well in this state. Let's move on to fixing it.

Here's the new replacement cable. It's from a later 997, but will fit the 996.

Here's a big tip - get a bowl of hot water, immerse the black plastic box in it a few minutes, then gently pry it off the cable. Why do you really really want to do this? It means you won't have to remove the aircon compressor!

So here's the original B+ connector.

Unbolt and remove.

Old (left) vs new alternator-starter cable. By removing the black plastic box, you can thread the cable under the intake runners to the original B+ location, replace the plastic box and bolt it up. Then bolt the connector to the starter, final connection to the alternator.
As all great car manuals will now say, reinstallation proceeds in the reverse order.
However....

Don't forget to make sure all your vacuum connections haven't been disconnected by accident! I managed to dislodge this one, put my car back together and it ran very poorly with lots of backfiring - had to disassemble everything again, found this hanging loose, and took a while to figure out it plugs into a connector underneath the intake runners. Reassembled everything, and all was good again

Back to that stupid plastic coolant connector. I used clamps to close off the hoses to make sure no broken plastic was retained in the hoses, then removed the broken plastic and rinsed any more debris.

Used a double ended brass barb to replace the broken part plus hose clamps.
In summary, not a particularly difficult job if you have the tools available and a bit of patience. Once I'd figured it out, I think I could do this job start to finish in around 90 minutes.
Finally, take the car for a long drive and see what voltage reading you get. I started at 14V as before, and at hot temperatures it dropped a little to around 13.5 or so. In hindsight, I should've measured it before and the cable replacement using a multimeter at the battery.


No comments:
Post a Comment